Ingredients
Method
- The night before baking, feed your sourdough starter in a 1:2:2 ratio (starter:water:flour). For example, if using 30g of starter, mix it with 60g water and 60g flour. Let it sit overnight at room temperature until it reaches its peak activity, this is when it’s bubbly and has doubled in size.
- In the morning, mix your flour and water in a bowl until no dry spots remain. Let the mixture rest for 30 minutes. This process, called autolyse, allows the flour to fully absorb the water, beginning the gluten development, which helps create a more elastic and extensible dough.
- Add active sourdough starter and salt. Mix until well combined. Let the dough rest for 30 minutes before proceeding to the next step.
- Perform a series of stretch and folds to strengthen the dough:1. Grab a portion of the dough, stretch it upward, and fold it over the center.2. Rotate the bowl and repeat until all sides have been stretched and folded.3. Let the dough rest for 30 minutes, then repeat the stretch and fold process.4. Complete four rounds of stretch and folds, each separated by a 30-minute rest. You will notice the dough becoming stronger and smoother with each round.
- After the last fold, cover and let rise until doubled in size (3–6 hours). The timing depends on the temperature in your kitchen. It’s important to watch the dough, not the clock!
- Once the dough has doubled in size you will pre-shape the dough:1. Lightly flour your work surface and wet your hands to prevent sticking.2. Gently stretch the dough into a rectangular shape, being careful not to tear it.3. Fold the left and right sides into the middle, then roll it up to create tension.Place your dough into a floured proofing basket (or a bowl lined with a floured kitchen towel). Using rice flour helps prevent sticking. Cover and refrigerate overnight (12–16 hours).
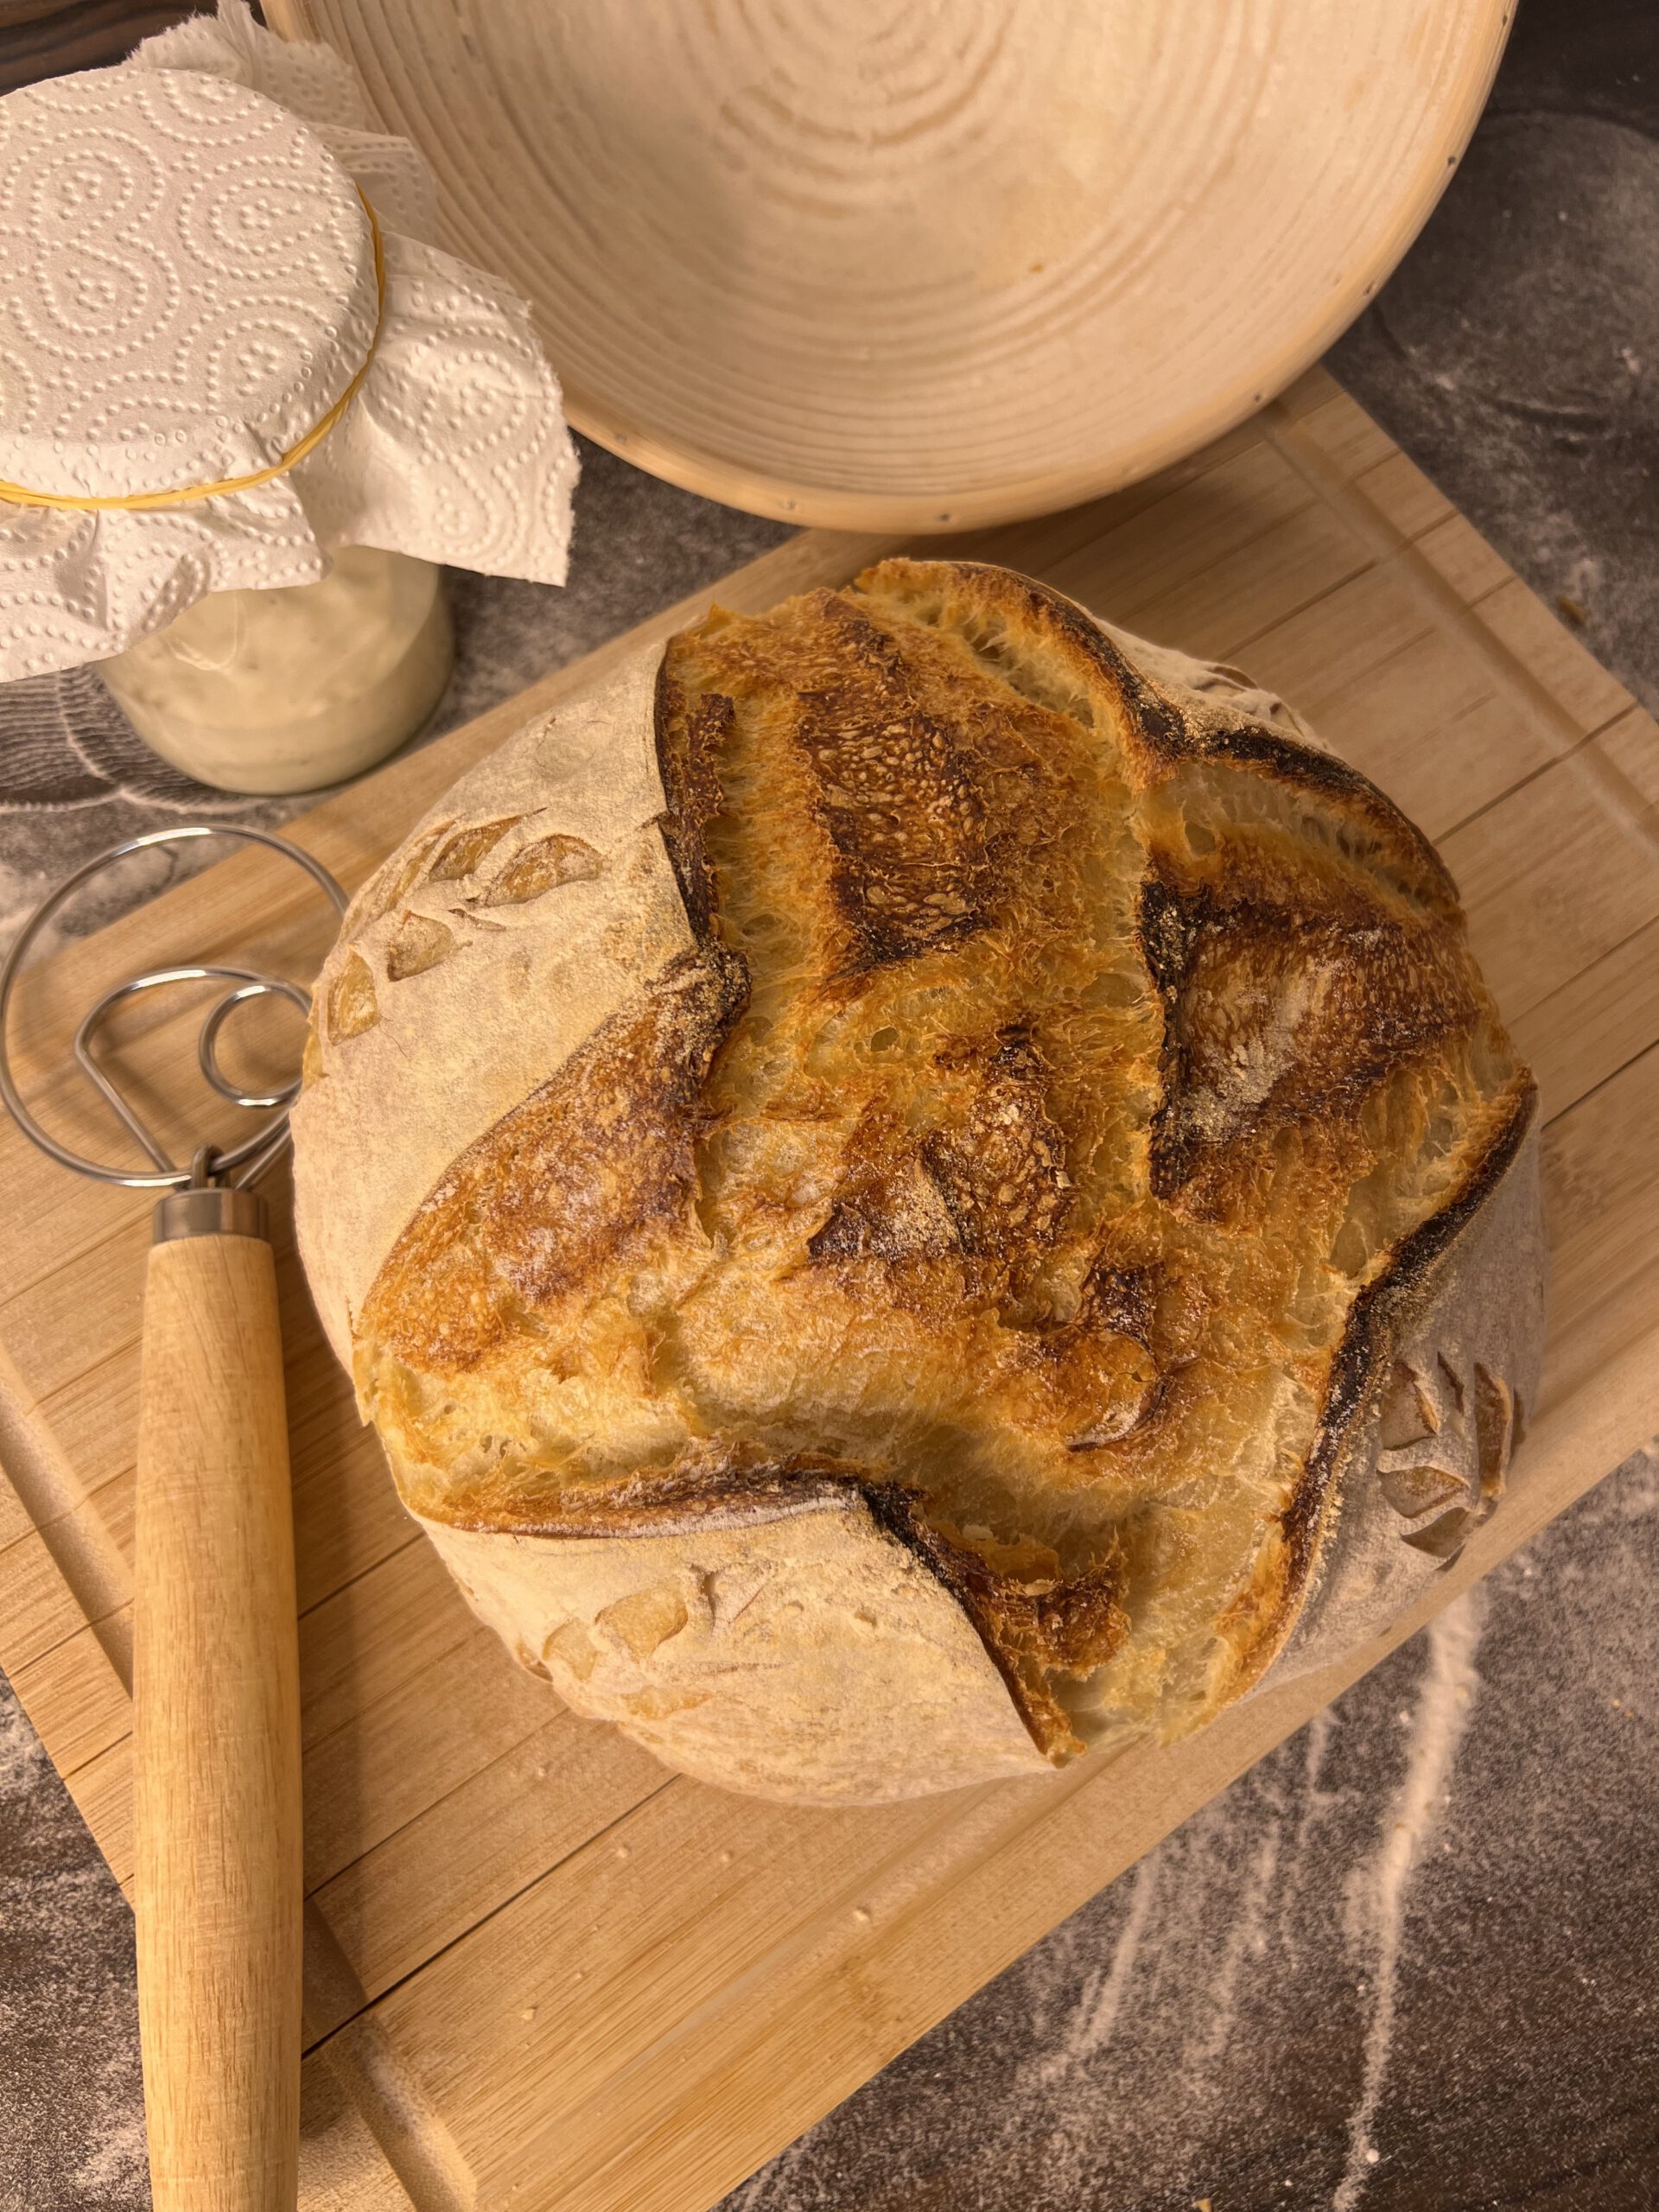
- The next morning:1. Preheat your oven to 250°C (480°F) with the Dutch oven inside2. Carefully remove the dough from the fridge and place it onto parchment paper.3. Use a sharp blade or lame to score the dough, allowing it to expand while baking.
- Place the dough into the hot Dutch oven, cover with the lid, and bake for 20 minutes. This traps steam, creating a beautiful rise.After 20 minutes, remove the lid, lower the temperature to 220°C (430°F), and bake for another 20–25 minutes until deep golden brown.Alternative: If you don’t have a Dutch oven, bake the bread on a hot baking stone or tray and create steam by adding a dish with hot water to the oven.
- Carefully remove the bread from the oven and tap the bottom. It should sound hollow. Let the loaf cool completely on a wire rack for at least 1 hour before slicing. Cutting too soon can result in a gummy texture.
Notes
Use an active, bubbly starter for best results.
Adjust water if your flour is more or less absorbent.
Can be baked directly after proofing if you skip the overnight step.